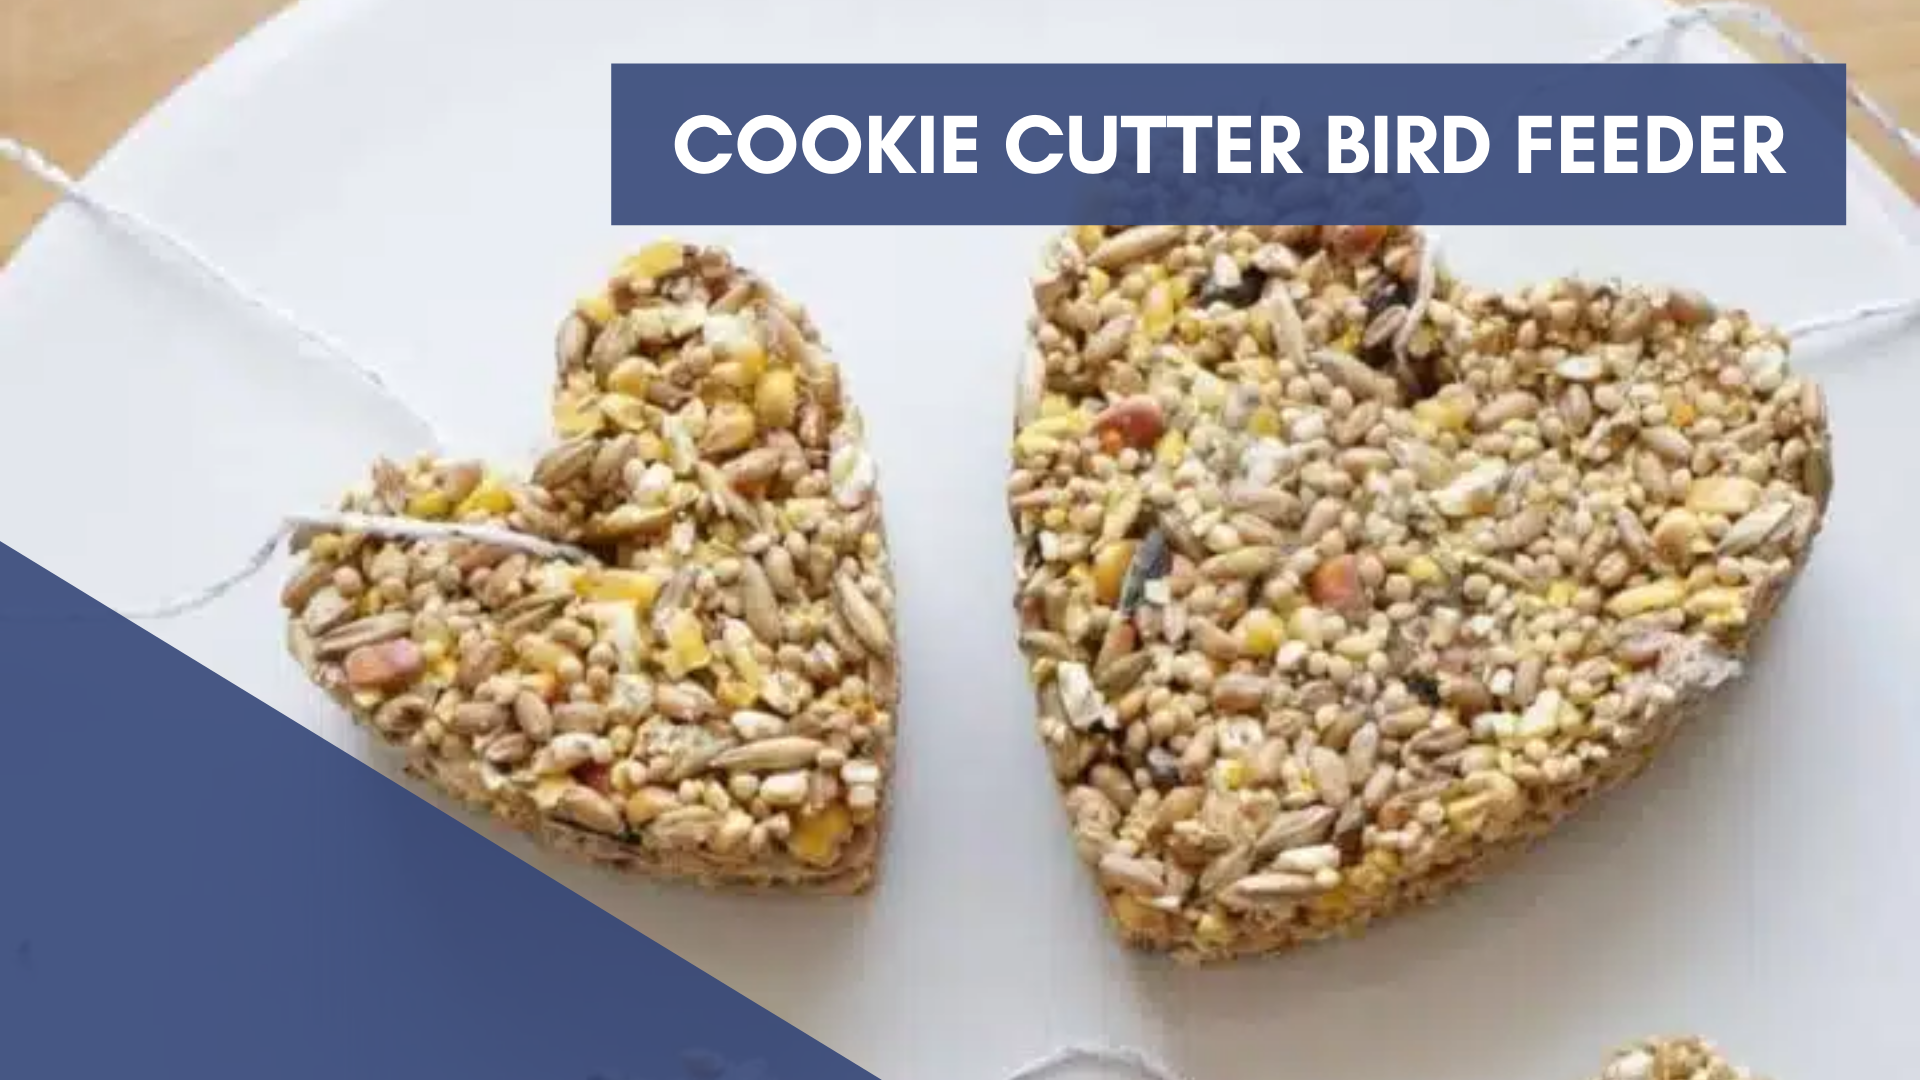
If you’re looking for a delightful and educational activity to keep your little ones engaged, the Cookie Cutter Bird Feeder Craft is an excellent choice. This simple yet charming project not only offers a creative outlet for kids but also provides an opportunity to observe and appreciate nature right in your backyard. Perfect for a sunny afternoon or a rainy day, this craft combines fun with a dash of learning, making it a great fit for families looking to bond over a hands-on activity.
The Cookie Cutter Bird Feeder Craft is a hit with children because it taps into their imagination and allows them to create something functional. Kids love using cookie cutters to shape bird feeders, and the joy of hanging their creations outside and watching the birds come to visit is incredibly rewarding. This craft also introduces children to basic concepts of bird-watching and wildlife care, sparking an interest in nature. Moreover, it’s a wonderful way for them to develop fine motor skills and practice patience, all while having fun.
What You Will Need
To get started on this engaging craft, gather a few basic supplies that are easy to find around your home or at a local store. You will need:
Materials
- Gelatin: 2 packets of gelatin (8-gram packets of gelatin. Unflavored gelatin helps the birdseed stick together.)
- Water: ⅔ cup boiling water (For mixing with the gelatin.)
- Birdseed: 2 cups birdseed – you may need more birdseed to thicken your mixture. A blend of seeds is ideal for attracting different types of birds.
- Non-stick spray or cooking oil: To coat the cookie cutters and prevent sticking.
Tools
- Cookie cutters: Choose various shapes like stars, hearts, or circles. Larger shapes work better as bird feeders.
- String or ribbon: To hang the feeders.
- Mixing bowls and spoons: For preparing the birdseed mixture.
Having these materials on hand will set the stage for a smooth and enjoyable crafting experience with your kids.
How to Make It
Start by preparing the birdseed mixture. In a mixing bowl, combine two packets of unflavored gelatin with two-thirds cup of water. Stir the mixture until the gelatin dissolves completely. Gradually add birdseed to the gelatin, mixing until the seeds are well-coated. You want a consistency that holds together but isn’t too wet.
Next, lightly coat the inside of your cookie cutters with non-stick spray or cooking oil. This step will make it easier to remove the finished bird feeders later. Place the cookie cutters on a flat surface covered with parchment paper or foil.
Spoon the birdseed mixture into the cookie cutters, packing it down firmly to ensure it holds its shape. Press a small piece of string or ribbon into the top of the mixture, leaving a loop for hanging. Let the bird feeders dry for at least 24 hours, or until they are completely set.
Once dry, gently remove the birdseed shapes from the cookie cutters. You now have delightful homemade bird feeders ready to hang outside. Find a suitable spot, perhaps on a tree branch or a hook in your garden, and enjoy watching the local birds come to enjoy their new treats.
The Cookie Cutter Bird Feeder Craft is not only a fantastic way to spend time with your kids but also a meaningful activity that encourages them to connect with nature. It’s simple, enjoyable, and provides lasting memories of creating something beautiful together.


