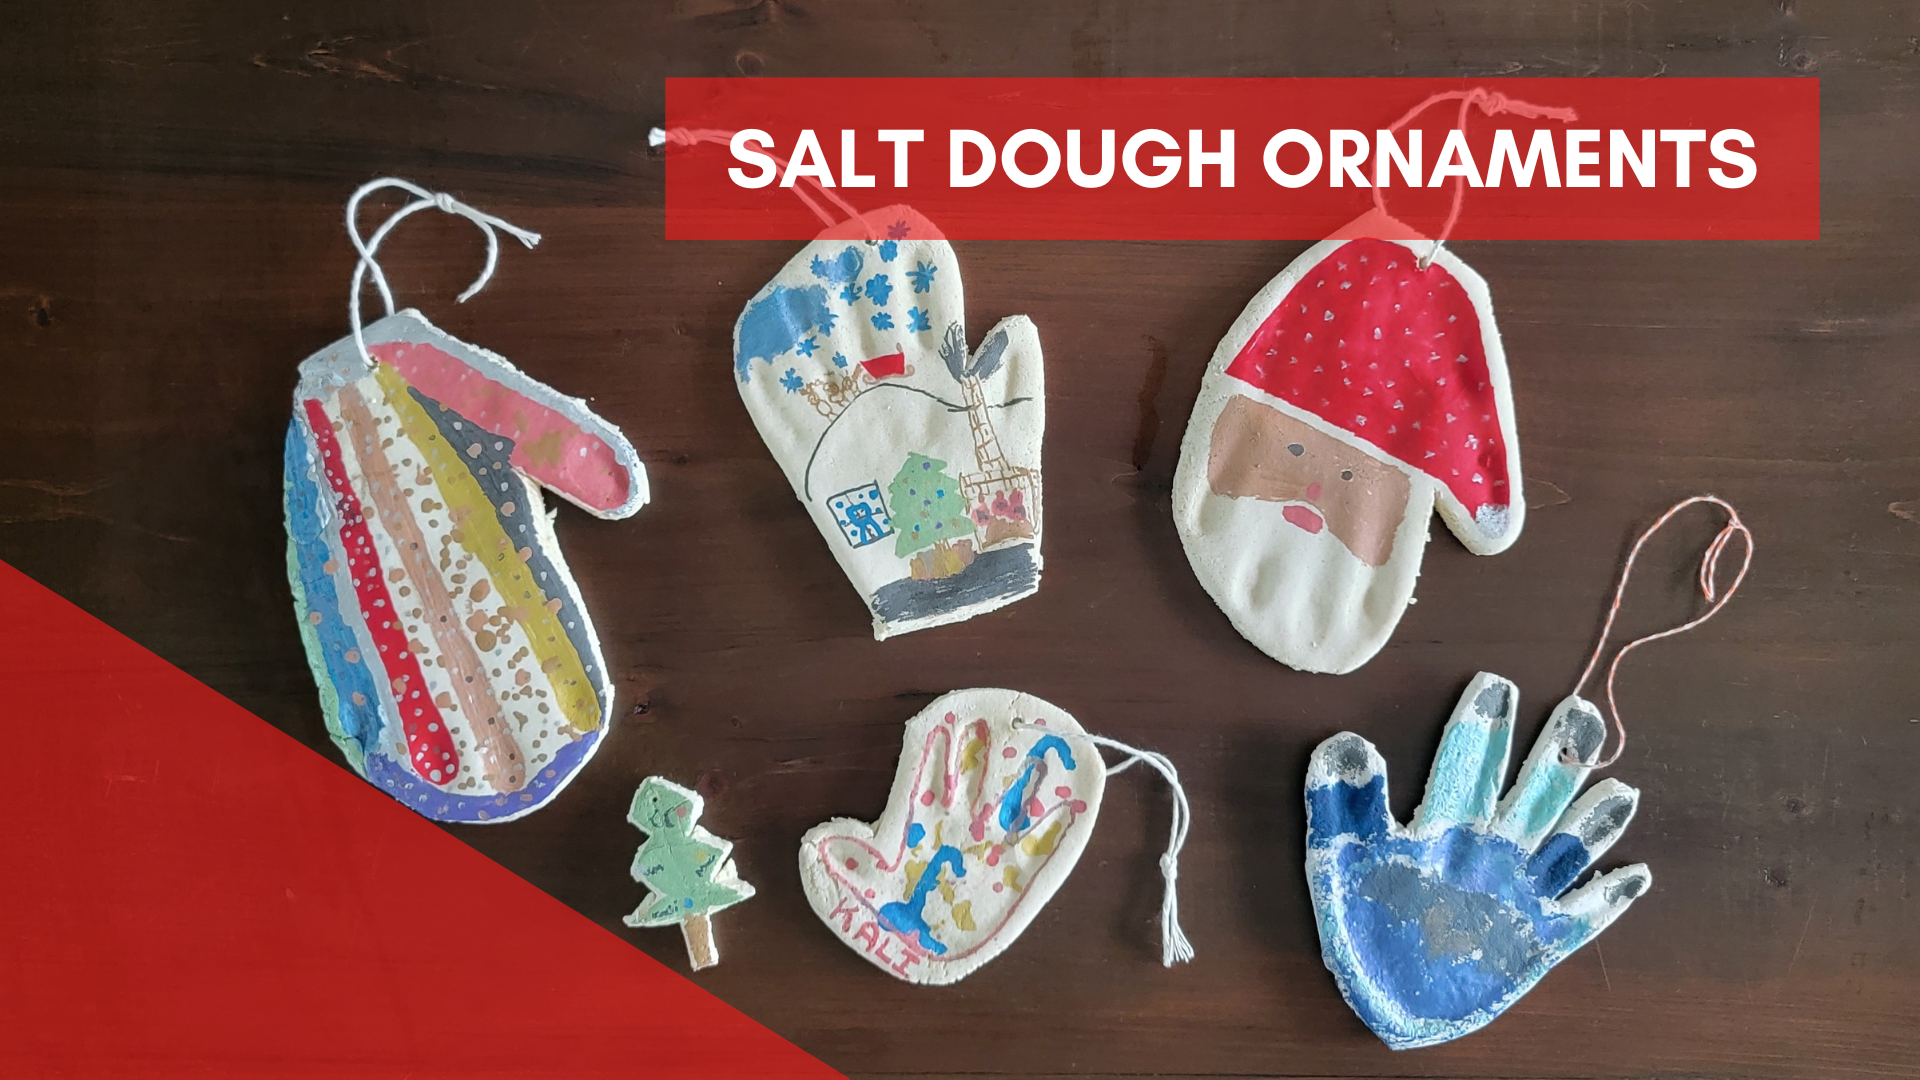
The holiday season is a time for creating memories that last a lifetime, and what better way to capture those precious moments than with a handmade salt dough handprint ornament? These sweet keepsakes are perfect for gifting to grandparents, preserving a child’s tiny handprint for years to come, or simply decorating your own tree with a personalized touch. Plus, they’re easy to make with just a few simple ingredients!
Here’s a step-by-step guide to making your own salt dough handprint ornaments at home.
What You’ll Need:
- 2 cups all-purpose flour
- 1 cup salt
- ¾ cup warm water
- Bowl for mixing
- Rolling pin
- Parchment paper or silicone baking mat
- Cookie cutter (optional, if you want to create a shape other than a circle)
- Straw (for making a hole to hang the ornament)
- Acrylic paint or markers (optional, for decorating)
- Ribbon or twine for hanging
Step 1: Make the Salt Dough
- In a large mixing bowl, combine the 2 cups of flour and 1 cup of salt. Stir them together until well combined.
- Slowly add ¾ cup of warm water, a little at a time, while mixing with your hands or a spoon. Keep adding water until the dough forms a smooth, pliable consistency (you may not need all of the water, so go slowly).
- Knead the dough for a few minutes until it is smooth and soft. If it’s too sticky, add a little more flour; if it’s too dry, add a tiny bit more water.
- Once the dough is ready, wrap it in plastic wrap and let it rest for about 10 minutes. This will make it easier to roll out.
Step 2: Roll Out the Dough
- Lay a piece of parchment paper or a silicone baking mat on your countertop. Dust the surface lightly with flour to prevent the dough from sticking.
- Using a rolling pin, roll the dough out to about ¼ inch thick. You want it thick enough to hold the handprint but not so thick that it takes too long to bake.
Step 3: Create the Handprint
- Gently press your child’s hand (or your own!) into the dough to make a clear handprint. Be sure to press down firmly but not too hard to avoid squishing the dough.
- If you’d like to create a specific shape for the ornament (like a heart or star), use a cookie cutter to cut around the handprint. You can also simply use a round cutter for a classic shape or cut around it with a butter knife.
- Use a straw or toothpick to make a small hole at the top of the ornament. This hole will be where you’ll later thread a ribbon to hang the ornament.
Step 4: Bake the Ornaments
- Preheat your oven to 250°F (120°C). Salt dough needs a low and slow baking time to prevent cracking.
- Place the handprint ornaments on a baking sheet lined with parchment paper.
- Bake for 1 to 2 hours, depending on the thickness of the dough. The ornaments are done when they are hard to the touch and slightly golden around the edges. If they’re thick, you may need to bake them for a little longer.
- Allow the ornaments to cool completely before decorating.
Step 5: Decorate and Personalize
- Once your handprint ornaments have cooled, you can leave them as is, or you can add some color. Use acrylic paints or permanent markers to decorate the handprint with your child’s name, the year, or even a festive design.
- Let the paint dry completely before moving on to the next step.
Step 6: Add a Ribbon for Hanging
- Cut a piece of ribbon, twine, or string to the desired length for hanging the ornament on your tree.
- Thread it through the hole you made earlier and tie a knot at the top to secure the ornament.
Step 7: Display and Cherish!
Your salt dough handprint ornament is now ready to hang on your Christmas tree or give as a heartfelt gift. It’s a timeless keepsake that captures the sweet memories of your child’s tiny hand, making it an extra-special decoration for the holidays.
Pro Tips:
- Preserving the Handprint: If you have a baby or toddler with wiggly hands, you can try pressing their handprint into the dough while they’re distracted or even asleep to get a clear impression!
- Using Different Colors: For a festive touch, you can paint the entire ornament a fun color, and then use contrasting paint for the handprint. Try metallic gold or silver for a sleek, sophisticated look.
- Storing the Ornaments: These ornaments can be stored in a safe place, and they make wonderful keepsakes for years to come. You can also use them as tags for holiday gifts or as part of a scrapbook project.
A Family Tradition in the Making
This simple yet sentimental craft is perfect for creating lasting memories during the holiday season. As your child grows, you can look back on their handprint ornaments and marvel at how much they’ve changed. You’ll have not only a keepsake but a beautiful tradition that you can continue year after year.
Happy crafting, and may your holidays be filled with joy, love, and lots of handmade ornaments!
Do you have any favorite holiday craft traditions with your kids? Let us know in the comments!


