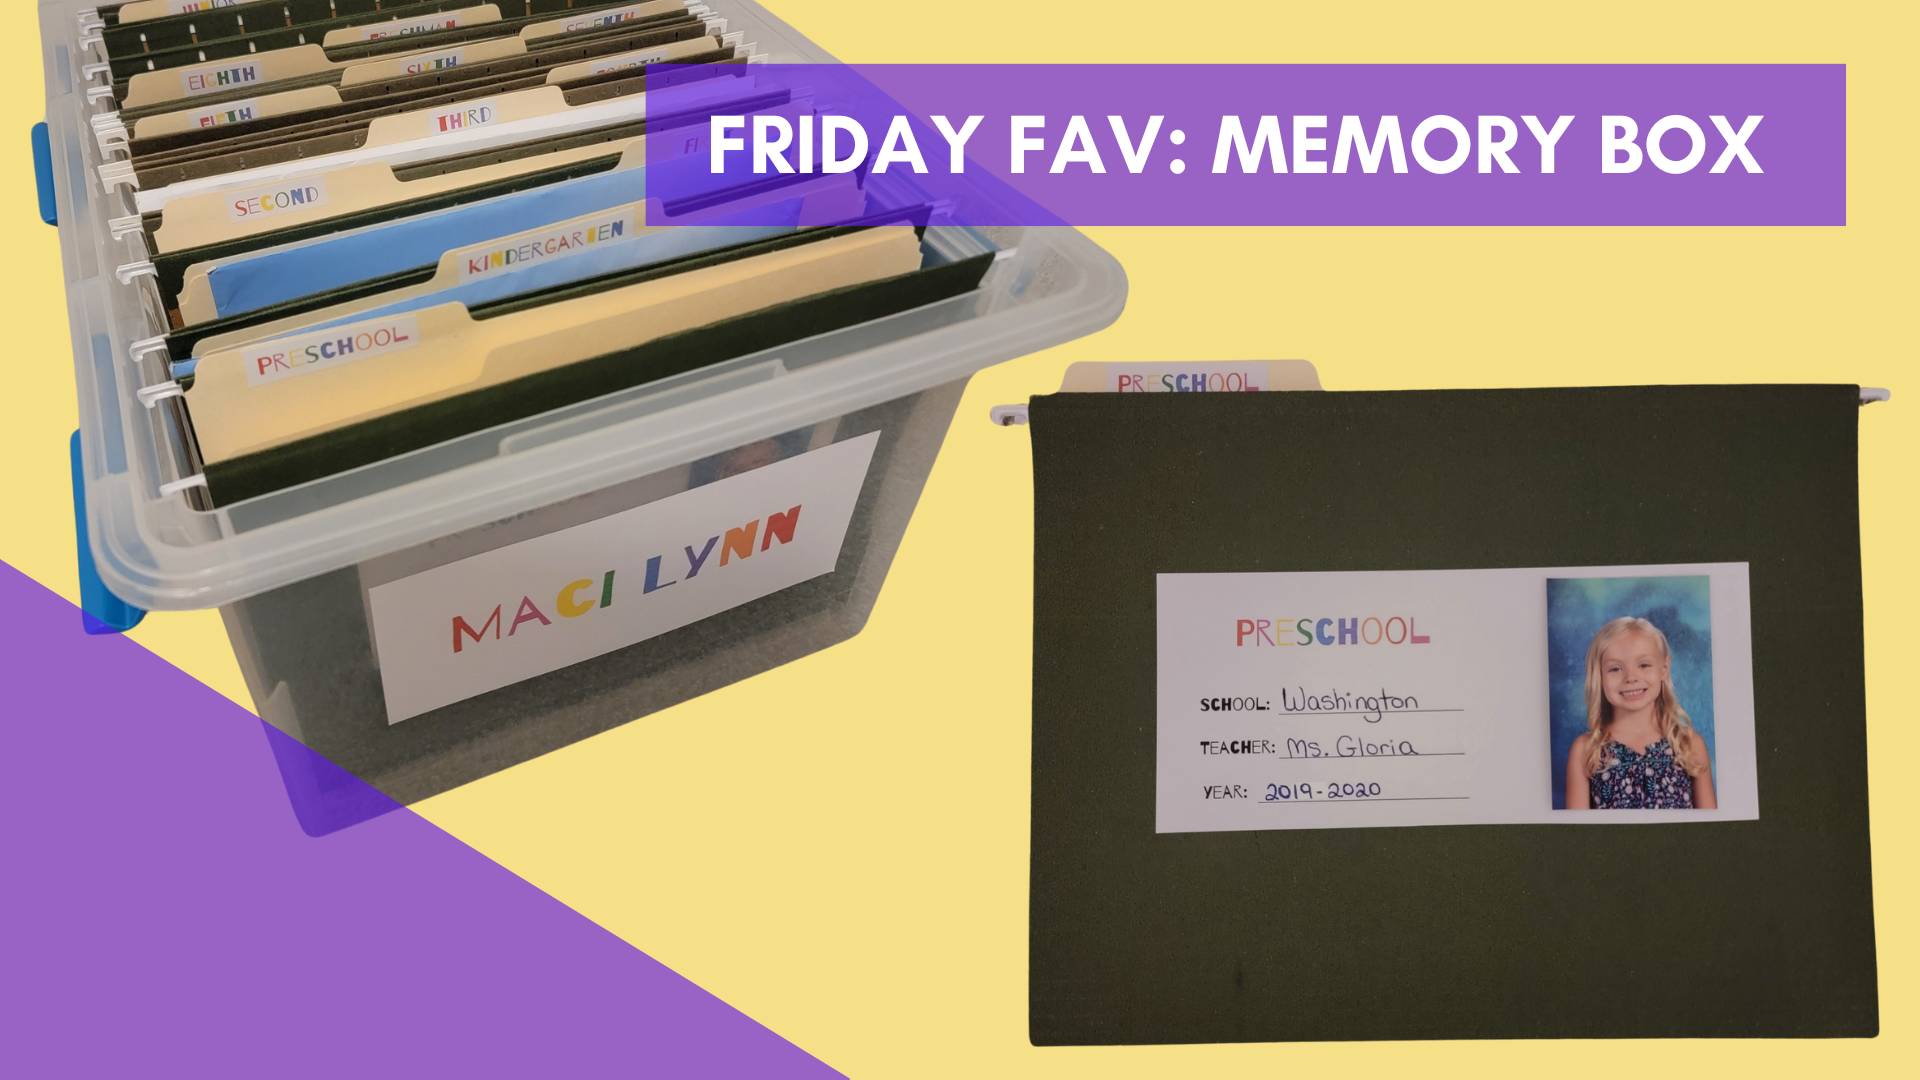
A Memory Box is a wonderful way to cherish and organize your child’s school pictures and projects. Whether it’s their first drawing or a memorable report card, having a dedicated space ensures these precious moments don’t get lost. This keepsake box not only preserves memories but also offers a fun way to revisit them over the years. For busy parents, creating a well-organized Memory Box can turn chaotic piles into a neatly curated collection of your child’s achievements.
Items used to create this memory box:
- 32 qt Sterlite tote (I can not suggest these totes enough. They survived our house fire and being drilled with water. Items in other totes did not survive. Needless to say I switched all of my totes to these, which have gaskets to seal tight.)
- Hanging folders
- File folders
- Sticker paper/Labels
- Colored Printer
- Scissors
- Glue tape (photo safe glue/tape)
Here is a template for the labels to use in your memory box, like the ones shown above.
Creating a Memory Box can become a cherished family activity. Regularly updating it with new school pictures and projects makes it a living archive of your child’s growth. Over time, this box becomes a treasure trove of memories that tells the story of their educational journey. Plus, having everything neatly organized means you can easily pull out those special moments whenever you want to reminisce.
Tips:
- Consider adding a “Yearly Summary” folder: This can include an overview of highlights or achievements for that year.
- Involve kids in decorating: Let them help design the folders and labels to make it a fun family activity.
- Use acid-free materials: To ensure photos and documents don’t deteriorate over time.


