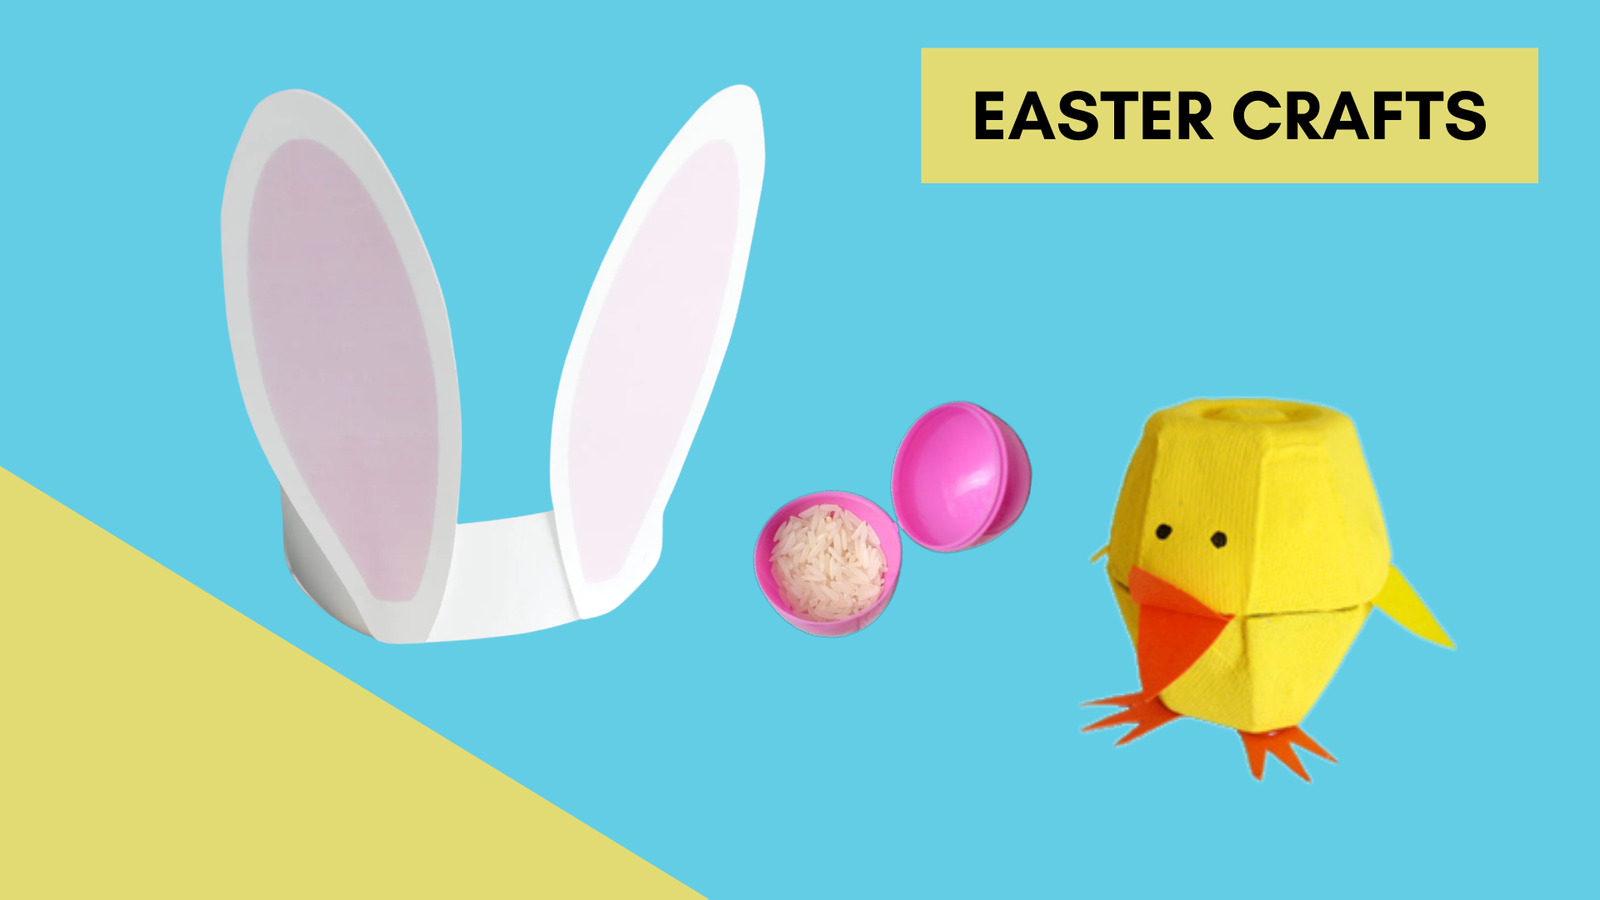
Easter is a time for family, fun, and, of course, getting creative! If you’re looking for some easy, budget-friendly crafts to do with your little ones this holiday, we’ve got you covered. These three crafts are perfect for toddlers, preschoolers, and elementary-aged kids. Plus, they’re simple enough to keep the mess to a minimum (a real win for parents!). Let’s hop into the crafts!
1. Easter Egg Shakers

What You’ll Need:
- Plastic Easter eggs
- Rice, pasta, or small beads for filling
- Tape or glue
- Markers, stickers, or washi tape for decorating
Instructions:
- Begin by filling the plastic eggs with your choice of rice, pasta, or beads. Aim for a small amount—just enough to make a fun shaking sound!
- Seal the egg shut with tape or glue.
- Now comes the fun part: decorate the eggs! Let your little one unleash their creativity with colorful markers, stickers, or washi tape.
- Once the eggs are decorated, give them a shake and enjoy the sound of your homemade Easter egg shakers!
Why It’s Great: This craft is not only simple but also a great sensory experience for younger kids. The best part? The shakers double as a toy that they can play with long after Easter!
2. Bunny Ear Headbands

What You’ll Need:
- Construction paper (white, pink, and any other colors your kids love)
- Scissors
- Glue stick or tape
- Glitter, pom-poms, markers, popsicle sticks (optional)
Instructions:
- Cut out two large bunny ears from white construction paper, and two smaller ovals from pink construction paper for the inner ear.
- Glue the pink ovals inside the white ears, and set them aside to dry.
- Cut a long strip of white construction paper and shape it into a headband by taping the ends together.
- Attach the bunny ears to the headband, ensuring they’re secured well.
- Optional: Let your kids add some additional decoration, such as glitter, pom-poms, or even draw little bunny faces on the headband. Also, attach popsicle sticks behind each ear to help hold them up.
Why It’s Great: These bunny ear headbands are an adorable way for your kids to get in the Easter spirit, and they make for some fantastic photo opportunities! Plus, they can wear them all day for some festive fun.
3. Egg Carton Chickens

What You’ll Need:
- Egg cartons
- Yellow acrylic paint
- White copy paper
- Yellow and orange construction paper (for the beak, wings, and feet)
- Black marker
- Glue and scissors
Instructions:
- Cut out individual cups from the egg carton. You’ll need two per chick.
- Next, glue a strip of copy paper connecting one cup to the other. Glue it so that it opens and closes.
- Paint the cups yellow.
- While the egg carton cups dry, cut out small triangles from orange and yellow paper for the beaks and wings, and little webbed feet.
- Once dry, glue the beaks, wings, and feet onto the egg carton.
- Finally, add two dots for the eyes with black marker.
- For extra cuteness, you can add small feathers or pom-poms to create a fuzzy look.
Why It’s Great: This craft turns an everyday egg carton into a cute chick! It’s a great way to upcycle, and kids will love the process of turning something ordinary into something festive. These little chick decorations are perfect for adding to Easter baskets or even using as table centerpieces.
These three Easter crafts are perfect for a day of creative bonding with your kids. Not only are they simple to make, but they’ll also bring tons of smiles and laughter to your Easter celebrations. And who knows? Maybe you’ll start a new family tradition with these fun DIY activities. Happy crafting and Happy Easter! 🐰🌸